


If your garden could ask, it would have only one thing on its holiday wish list: a worm bin.
Experienced gardeners know that abundant harvests are fed by the health, makeup and diversity of their soil, and the fastest way to improve your soil starts with a tiny worm. Worms convert garden trimmings and table scraps into a nutrient-dense, fluffy soil amendment and fertilizer that can be used on indoor or outdoor plants.
Garden centers sell this odorless worm poop — called vermicompost, vermicast or worm castings — at a premium, but you can cultivate a steady supply in a small tub by raising the worms yourself.
Here’s why you may want to join the many gardeners who are happily hosting worms in their homes.
The value of vermiculture
The University of Washington Farm’s gardens — which supply produce for campus dining and local food banks — are supported by a worm bin big enough to warrant its own building. Perry Acworth, UW Farm manager, cites numerous benefits to cultivating worms.
Like composting, vermiculture (growing worms) reduces and recycles food and garden waste on your property, retaining carbon locally and shrinking the monetary and environmental cost of hauling it away. As an amendment, vermicompost improves soil aeration and drainage (especially important in our Northwest winters), encourages beneficial microbes and enhances nutrient absorption, while saving money on purchased fertilizers. It’s safe for plants in any dose.
“No matter how small your house or apartment, worm composting is possible and affordable, too,” says Acworth.
Also, for school-age kids, a worm bin project is a win-win for incorporating biology and STEM concepts, not to mention the benefits of caring for other creatures.
For landscape designer and garden coach Jessica Souyoultzis, worm bins are central to her work.
Worm castings are “the only fertilizer I use,” says Souyoultzis, who studied holistic garden design and permaculture design at Bastyr University in Kenmore and completed Seattle Public Utilities’ Master Composter/Sustainability Stewards program. She leads workshops about vermiculture in schools and community gardens.
While teaching, Souyoultzis might point out an apple core in the bin. “The nutrients from that apple are breaking down, and they are going to feed the plant which feeds us. It’s my ‘why’.
“I am of the mindset that healthy plants start with healthy soil,” she says. “If you are creating a good environment in the soil by adding active live biological organisms, that relationship will increase.”
A starter worm bin
Although Souyoultzis has a large wooden bin year-round in her garden, she recommends starting with a small indoor version made from a plastic storage bin, say 25 gallons. (Plastic doesn’t offer enough insulation for use outside, she says.)
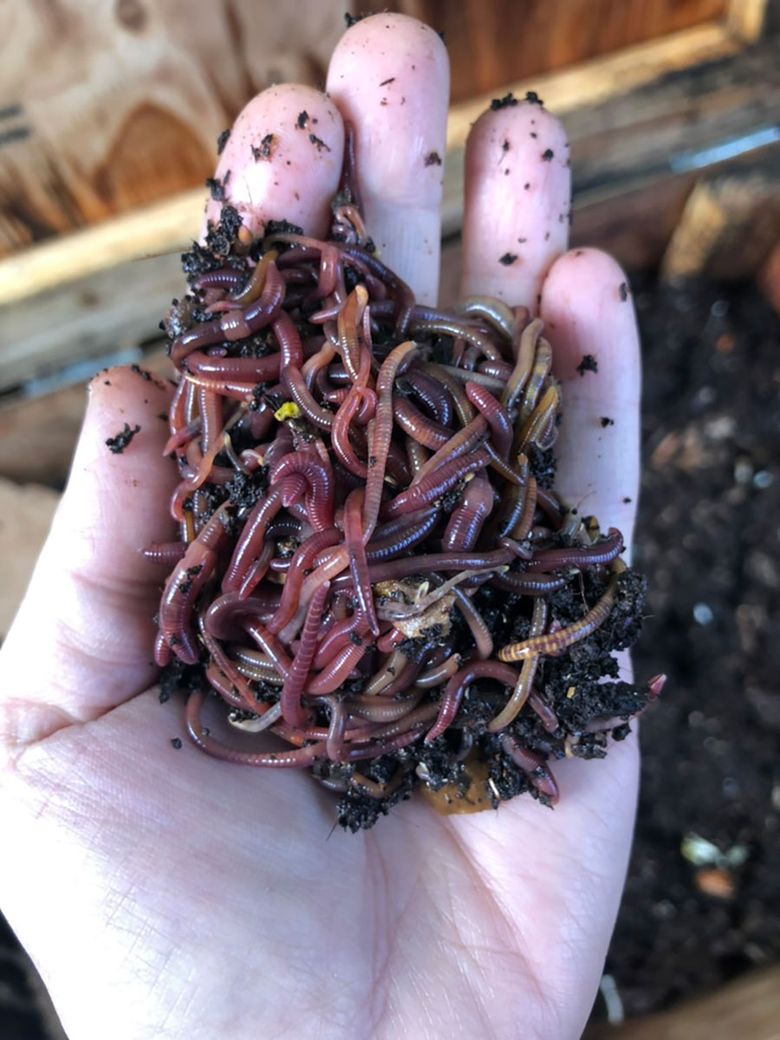
The worms she commonly uses are red wigglers (Eisenia fetida), which are skinnier than the common earthworm, with a red cast and yellow bands. They multiply quickly and thrive in a wide temperature range, from 55 to 90 degrees Fahrenheit.
When done correctly, Souyoultzis says worm bins should give off no odor — though just like with your tabletop composter, you might see fruit flies when they’re in season. Souyoultzis knows people who keep a worm bin in their home office to nourish their houseplants.
If the bin is too moist, brown liquid “leachate” might collect at the bottom. Souyoultzis says this is not the same as compost tea and should be discarded — often anaerobic, it’s not appropriate to use leachate near growing plants. Souyoultzis puts it on a pile of wood chips in her yard, where it decomposes.
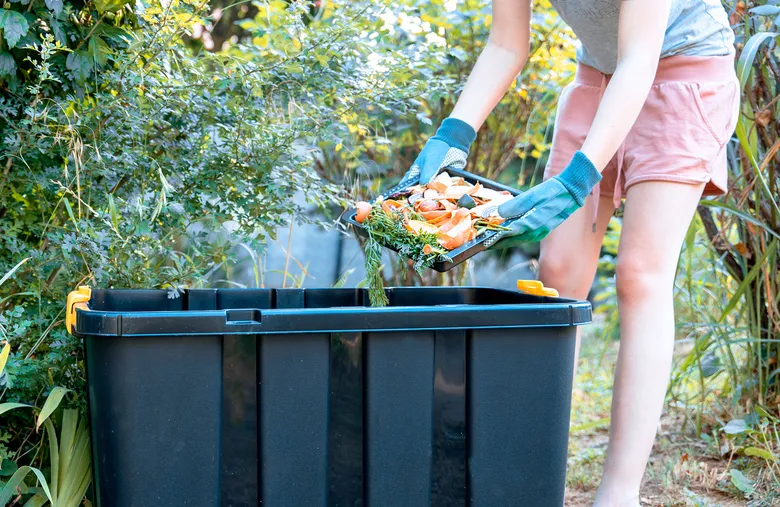
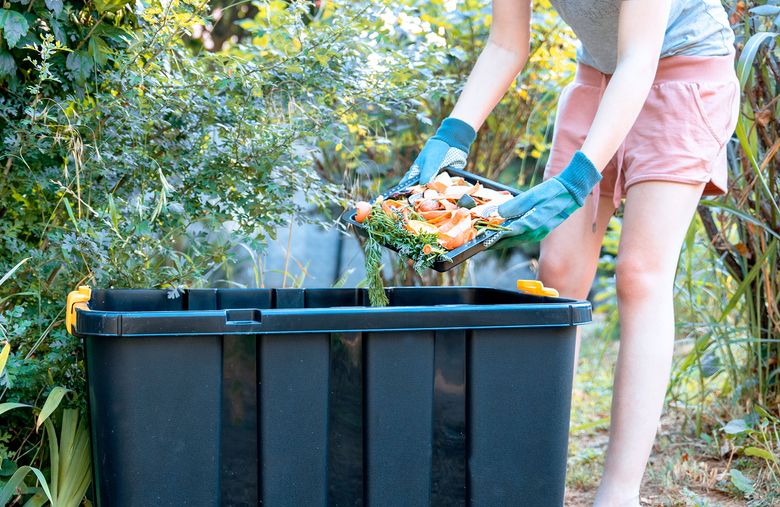
To build your own worm bin, Souyoultzis recommends starting with two 25-gallon plastic bins, one lid, a drill and red wiggler worms (one pound is a good amount for starters). In compost parlance, you’ll use “browns” (shredded paper, egg cartons, toilet paper rolls, straw, cardboard, dry leaves and stalks) for the bedding, and “greens” (fresh plant-based kitchen scraps, weeds and garden clippings) for food, along with some grit like sterilized eggshells or sand.
You’ll be stacking the two bins. Leave the first, bottom bin intact and place a layer of cut 2-by-4s or gravel to create some space between bins. Drill half-inch holes spaced 3 inches apart covering the base of the second bin and the lid — this will be the top bin that holds the worms and bedding. Nest the bin with holes into the bin with spacers (to keep any leachate away from the holes in the upper bin).
Fill the upper bin with browns (the smaller the pieces, the faster the composting), and dampen so that a wring produces just a few drops. Make a 3- to 4-inch trench in the center and fill with food. Souyoultzis recommends pretending your worms are vegan. Skip sauces, dairy or meat, which can attract unwanted critters and make your bin smell. Favorite snacks include banana peels, potato peels, carrot peels, ends of celery or broccoli. Stay away from pungent citrus, onions and garlic, which can irritate the worms’ sensitive skin. Cover the food with bedding to discourage fruit flies.
You’ll need to add some grit to replace the sand that worms would get in outdoor soil. This helps the worms, which do not have teeth, break down their food. Souyoultzis freezes eggshells overnight, bakes them at 350 degrees Fahrenheit for 10 minutes and pulses in a blender, then sprinkles it over the bin surface; others use Azomite soil mineralizer and sterile sand.
Care and feeding
Feed worms with twice as many browns as greens in the middle of the bin. Overdoing the greens is a common issue. Souyoultzis replaces grit about every month or two.
Check weekly and note your worms’ activity. If the food is gone, feed them again. Keep the bin slightly moist, taking care not to overwater it. “Worms are really resilient, but pay attention to them,” Souyoultzis says.
Gradually, the food and bedding will be replaced with brown worm castings. You can harvest anytime, but it’s ideal to wait until the bin is about 60%-70% converted. To gather more compost than worms, Souyoultzis moves the food zone to one side to draw the worms there before harvesting the vermicompost. She sifts hers in eighth-inch gauge wire over a tarp for a finer product, but that’s optional. Return anything too chunky to the bin, and top-dress your plants indoors or out with the good stuff. Refill your bin and repeat.
When you see how much your plants love worms, you may want to add more. This design works best as a single working bin, but other setups allow you to stack two or three bins, condo-style.
Build a basic bin
Washington State University offers steps for building your own quick and inexpensive bin, as well as a list of tips and troubleshooting advice, at extension.wsu.edu/whatcom/hg/cheap-and-easy-worm-bin.